Thursday, November 29, 2012

All in Port!!!

Now to heat set, trim, and  formally photograph for the class description.  This is going to be one fun class!!!!
I hope I can get this quilted before Road To Ca. in January... I'm afraid I have 4 quilts to complete in front of this one.  ;-)

Wednesday, November 28, 2012

Painted Quilt Blocks

When I envisioned this piece, I always thought it would be fun for the class artist to add to their quilt, fabric printed photos of their trip.  So the blocks on the drawing are set up to allow that, but as a class sample or also as an option to those who wish.... I'm adding some drawings of traditional quilt blocks.  Students can use these or ignore them. Their choice!  

 This was all done with markers.. It was just easier! A neutral colored outline of each block seemed to finish off block edges. For this.. a ruler and writing tip marker were helpful.

Tuesday, November 27, 2012

Palms, Shack, and a Ship

The addition of palm frons were done using a brush tip of a couple different green markers ( a medium and dark value) and a dark brown. Once the palm inks are dry... the surrounded 'specs' of white can be filled in with yellow and blue accordingly.

I've added some islands at the horizon line, an island beach shack near the foreground (the pic is crooked.. not the painting.. duh).  You may also notice that the edges of block letters have been warmed using a transparent rust colored application.
At last the cruise ship is coming in. I'll be working on the squares on shore next.

Monday, November 26, 2012

Starting The Cruise

I'm happy to be back in my studio and painting....   so here goes with the Road To Panama Cruise class project. After placing my PFD fabric atop the black and white enlarged drawing,  I  blocked in yellow ink into the Panama letters.... I have left some areas unpainted as white areas within the yellow letters will become an extension of  fluffy white clouds that will appear in a blue sky. The black shadows around letters were added with markers once the yellow was dry or I would have had black blooms into wet yellow areas.
Next I used a dry brush approach to add sky blue background, then some palm frons and coconuts, and the PANAMA hat atop the"M". I know I'll need one more smaller palm tree for design balance.  I'm already NOT fond of the palm crossing over the top of the P.  I definitely should have followed my instinct to position it behind the P.  I'll correct that later when all is dry.


Sunday, November 25, 2012

Home From Turkey Travels

Hello all... I surely hope you had a great Thanksgiving.  I was fortunate enough to travel to Denver area to cook and enjoy the holiday with my daughter Allyson, granddaughter Kaley and  5 year old grandson Max.  A good bit of fun and family time albeit brief.  The day after BIRD day.. we spent exploring the wonderful Denver Zoo. I was impressed and all had a great time. Daughter Allyson and Grand daughter Kaley stopped for a moment below exquisite silk lanterns. Gorgeous!

Lucky for my pocketbook.. I didn't see these for sale anywhere!   Now to unpack!!!

Thursday, November 22, 2012

Happy BIRD Day!!!

Hope it is a great one for you.  It may be better yet to have a glass of wine before carving that big bird! ;-)

Sunday, November 18, 2012

Planning The Road To Panama

A few of you might remember the Bob Hope, Bing Crosby Films of yesteryear... The Road To Zanzibar, etc etc.  Well, in conjunction with the World of Quilts Travel Panama Canal Cruise of 2014, the owner of the Road To California Quilt Show is participating in the cruise event.  To me, that called for a Road To Panama class so it's in the works.  I am envisioning wall quilt art that takes on a vintage  postcard feel...  I first drew out  4 LARGE Block letters  on 1/4 scale graph paper. P A N M is all I needed. I then copied, printed, then cut out one P, one N, one M followed by 3As.
This allowed me to easily lay out a curved/overlap of letters as seen below... ( those teenage years of doing paste up ads for a throwaway newspaper came in handy)
I've added a few other design elements  plus have some other things in my head to use painting to tie many of these separate parts together.  So I am off again to the printer for a printed image the size I want.  After that, I can begin the painting dance!!!

Saturday, November 17, 2012

Panama Textile Painting Complete

Fini!!!   I'm liking the feel of this finished painting. It is definitely folk art with a bit of a contemporary feel here and there.  Detail below!

This is one of 2 new class pieces I am creating for the "World of Quilts" Panama Canal Cruise in 2014.  Yep, I mean .. 2014.  I gotta start early on such planning.

Friday, November 16, 2012

Pretty Much It!

I'm already thinking about the finish work on this piece.... I will make this into something both artistic and useful. News at Eleven!!!

I am first using the very fine tip of a black marker to accentuate the separation between the background and the various detailed images.   To keep this more informal in feeling, I chose an inconsistent and loose linear approach.


Then some mottling in the background....
Close to done !

Thursday, November 15, 2012

This is WAY FUN

This project seems a little like Zentangle... I do have a plan here.... but it feels a bit like doodling for sheer relaxation and fun. So I am continuing prepping the 4 corner triangled areas... Putting in some groundwork and allowing them to dry before I return and add wet stuff next to areas I want to stay pure... no bleeding in.  These Sharpie "Stained" Fabric markers do seem to dry pretty quickly so I needn't wait long between applications in a common area.
 These photos might give a better idea of the order of things...


Wednesday, November 14, 2012

Making The Supply List Simple

When I teach on a cruise, I'm very aware of cruisers likely desire to spend most of their well-earned dollars in port as opposed to spending volumes on board ship class supplies.  So for this experiment, I'm choosing to create the piece mostly with  reasonably priced markers readily available across the country in both craft and stationary stores. I'm using an 8 marker pack of "Stained" Fabric Markers by Sharpie, plus 1 bottle of a more neutral bottled ink and 2 fantastix applicators by Tsukineko ( the later 2 items I will have available in class).  Why a neutral?  These markers are colorful and bright, so an added neutral both calms the minds eye and will "show off" the folk art drawings.  This simple supply list will also be easier to transport to and from the cruise, and keep $moolah$ in cruiser's pockets.

First, the drawing is taped to a protected work surface.. after which the colored fabric is taped similarly atop the drawing.


So here we go... Already I am finding the 'Stained' markers easy to use. They have a very FINE tipped brush marker that seems to hold the sharp tip quite well. They are VERY saturated markers.  The yellow and orange lighter values and more transparent than other colors.  The hand on the fabric seems to stay pretty soft which makes me happy. ...and the markers seem to dry fairly quickly.  The one thing one need be aware of with these markers  is that because the markers are quite saturated, particularly when new and as is my norm working quickly...  it is easy to 'flick' pigment to create small spots a few inches away from where you are brushing on ink. So relax when using a new set, and enjoy the journey.

 To avoid one wet color bleeding into an adjacent wet color , rather than regularly heat setting, I instead am hopping around adding colors here and there and allowing them to dry naturally.  I always know I could dry with a dry iron, or with my handy hairdryer or embossing dryer, but this works fine.
You are starting to see some neutral background shading appear in the upper left  triangle.

 I'll keep tinkering...playing and post the rest within a day or so.

Tuesday, November 13, 2012

Background Fabric Color

I usually paint on white fabric using pigment ink and sometimes Setacolor paint.  I'm thinking this time I might appreciate a light color of yellow in the background using Dynaflow by Jacquard to " dye" my white fabric.  First I've placed my clean white sheer cotton fabric ( Hoffman PFD #1377)  on my plastic work surface.  I've heavily misted it with clear water, then loosely brushed on Dynaflow in varied directions. This looks really bright but I don't think it will be when dry... If so, I'll do it "another time lighter."

Since I'm not at all interested in creating a perfectly even finish on the surface, I'll even throw on a bit of rock salt hopefully to further mottle the finished surface.     Now to let it air dry!!!!

A couple hours later, all is well and the final thing to do before beginning the rest of the project  is to heat set.  Iron set on dry cotton setting and merely iron it like a shirt .  The reverse side is lighter than the painted side and I just may use that side for the next step.  The modeling is quite satisfactory to my thinking!

Monday, November 12, 2012

Out of My Mind and Onto Paper

I know I posted yesterday that I had been sketching ideas in my head for ( can you believe it) classes aboard a Panama Canal cruise in 2014. So I've got to get these ideas onto paper and get with it to deliver to the organizing company ( World of Quilts Travel).  One of the things I appreciate within Panama is their rich tradition of intricate textiles.  ex. below..
All of this example is handwork.. a good deal of reverse applique, and embroidery. These pieces can take many days/weeks to complete. This is tedious work.

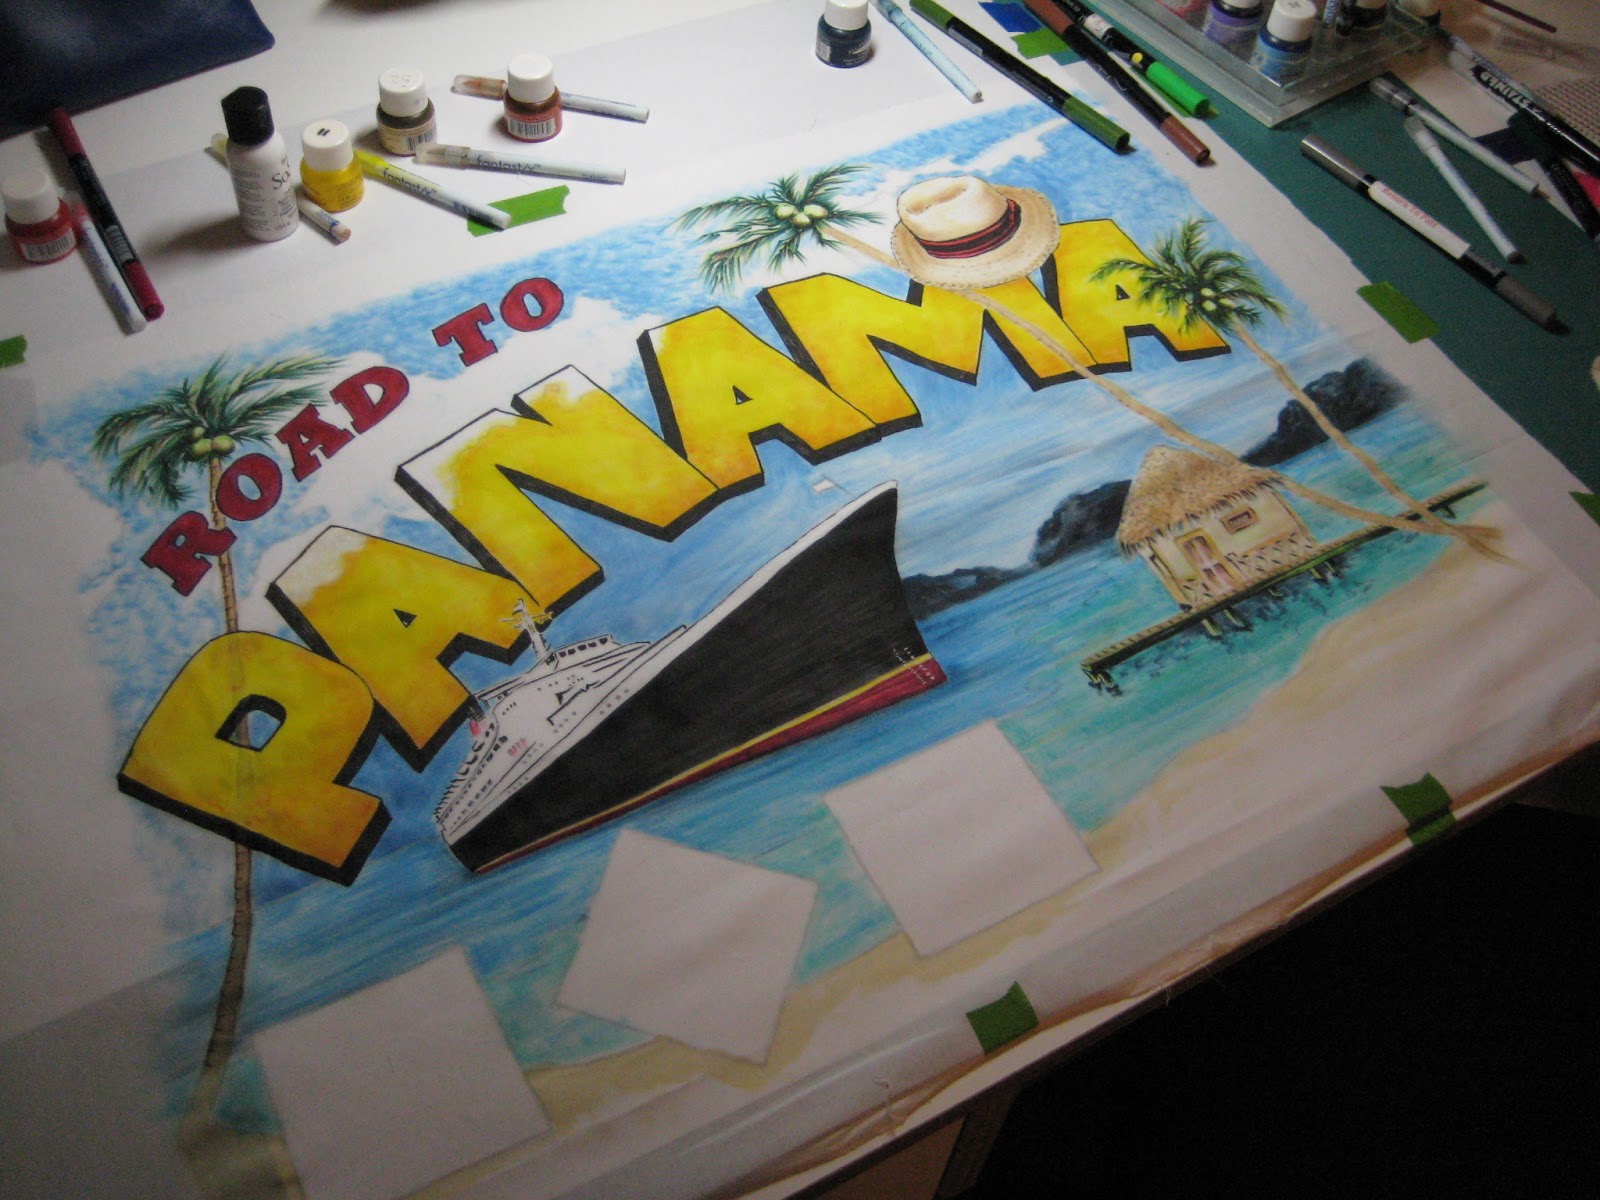
 I like to  honor visited cultures by creating cruise projects reminiscent of the trip..BUT without the lengthy work... so I will reveal my 'experiment' of a painted version as I go.  This could be a bust, but I think it will be great fun.   Everything begins with a drawing.... this is where oversized 1/4 inch graph paper is worth every penny it costs.  I first measure and lightly pencil sketch my basic design.  When fairly satisfied, I will get out the permanent marker to  draw/make a commitment to the sketch.  For some things... like the floral that appears in each corner... I drew it once... then copied it  3 more times on my printer, finally cutting and pasteing to fill all 4 corners.

While many of Panama's textile artists honor local animals as in above, I chose to honor their exotic flowers in their folk art fashion following their fundamental textile culture.


You will certainly find this drawing pretty "busy" following Panama's intricate detail approach.  It is my intent to paint this image with some softer value areas, and leave some  more open space for the eye to rest, but details overall are called for if I am to follow Panama artist's lead. Note: thread spools of varied sizes made perfect circles for the original pencil sketching.


When I create a very complicated/detail drawing like this, it would be easy for a painter to get lost in the detail so I regularly choose some areas to fill in solid  to help the painter know where they are.  In this case it's me and since I did the drawing, I SHOULD know what is what, but if this piece is successful, the drawing will be used by students on the 2014 cruise.    Now.. off to the printer to get a couple copies made for the painting process.

Sunday, November 11, 2012

I'm Drawing and Painting in my MIND

I am back from Houston and doing my best to 'catch up with all that is required like banking, future contract and related commitments , unpacking rainy wet boxes of Houston Supplies now shipped home (what a mess!). I love teaching though I admit it slows my own production of work. It's just so much fun in class though that it is all worth it.

I am mentally working on a design for a future cruise project associated with a 2014 quilting cruise through the Panama Canal. Sound Fun?   This cruise by World of Quilts Travel will be co promoted by  the Road To California  show owned by Carolyn Reese. More info will be out in January 2013.  This will be ONE FUN cruise with plenty of  included quilt class time.   For weeks my brain has been reminiscing about the old  Bob Hope and Bing Crosby "ROAD" films of the 40s and 50s.  There just may be a "Road to Panama" Class on this upcoming cruise.
When I mentioned to someone at the So. Cal.  S.A.Q.A. meeting yesterday I was working on a Road to Panama piece... the question came... Is the Road BLUE?  I presume meaning a road of water... thus the canal picture above no part of which is actually in my 'brain drawing.' The water not all that blue either.  ;-)

Kudos to Laurie

This is one of my favorite things to happen.... A student attends class and paints an original piece from there own photo, quilts it, binds it , and sends a pic to me so I get to brag about them.   Thus is the case of Laurie Lyle who attended my last retreat in Temecula.  Once Laurie had some basic instruction on the ink medium, it was time to get out of her way and away she went... working quietly, intensely studying her photo, and translating it into an ink painting.  Before she left class, she had finished the painting and pieced a border in.... so all that was left was to quilt and bind.  THANK YOU Laurie for your willingness to share your result.  Quilting brings paintings to life and Laurie says she's happy with the result! Who wouldn't be?!!!!

Wednesday, November 7, 2012

Hard To Believe

Those that have taken my classes know I have a drawing of a lion head profile used for student work.  Well this chinese master silk thread painting by hand takes the cake for certain.  This piece is nothing short of breathtaking.  A small work like this can take several months to complete by the most talented master. Large pieces can take years.   The threads used are the finest/thinnest  of silks appearing on the surface as if they are the real deal. Each is an original. This is one of what will be only 40 editions.

Look at this unbelievable detail...
One was already in progress in China when I ordered my one of forty and should arrive at my door within 2 months.

Tuesday, November 6, 2012

Ben... On Stage

'Got literally a handful of pics as I was working almost every minute, but late Sunday afternoon just before closing... a quick photo with Ben and Best of Show winner Sherry Reynolds... note she is much younger and thinner... but she does have 3 children that may keep her moving. Sherry laughed about putting a generator and sewing machine in the back of her vehicle to work on the run.
Be certain to see her best of show quilt at http://www.quilts.org/winners.html


 a few notes of explanation too....

 THANK YOU BIG TIME PFAFF!!!!   .. and PLEASE vote  today for your candidate.

Monday, November 5, 2012

My Gentle Giant..Ben wins Machine Artistry Award at Houston

I am barely home and in a fog.. the week-long adrenaline shut off and I'm pooped with a major unpacking reorganizing effort in front of me.. But Hey... I'm happy happy as my belief that only BIG QUILTS win BIG PRIZES has been blown. I had as many as five events per day while there.. Don't anyone ask me my name about now... but I am over the moon.  My thanks to Quilts Inc, IQA, and especially Pfaff who sponsored the $5K award.... and as importantly... all who attended this magnificent show.

A complete list of winners including the BEAUTIFUL" America, Let It Shine" Best of Show by Sherry Reynolds can be seen at http://www.quilts.org/winners.html
It's Breathtaking!!!!


 I'll try to find some pics when I can breathe.... Dear Friend Nancy Chocek just sent me several pics from an Open Studio project where several teachers had 2 hour segments to teach /demo whatever they chose. Brilliant idea of Pokey Bolton... I must thank her.  The Open Studios set up were sponsored by Craftsy, time donated by teachers, and free to show attendees.

Hey Nancy(on the left ) .. "thanks for sending one of the Open Studio pics where my mouth wasn't wide open."   Gotta laugh!