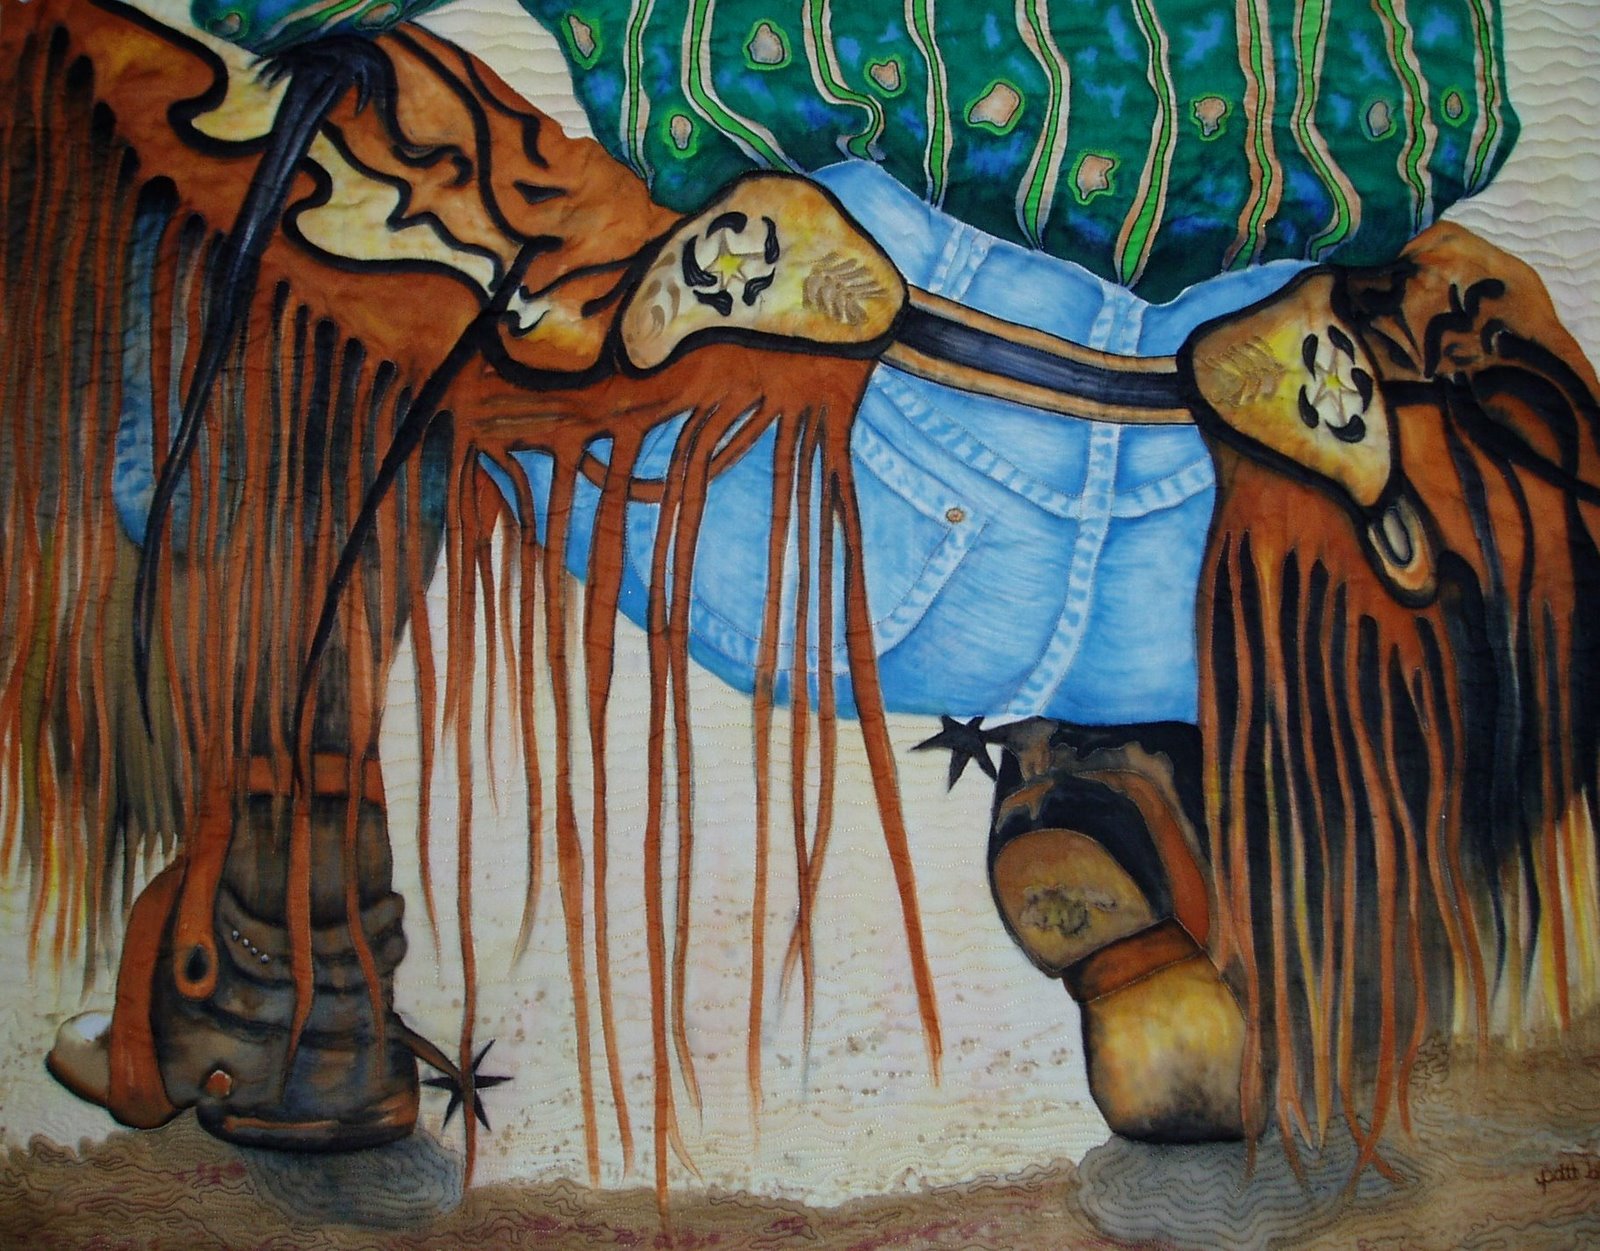
This quilt is BIG.. thus the over the couch drape. Love and laughs to all who quilt!
Thursday, September 23, 2010
I Love 30's quilts
I spend about 75% of my time on art quilts but admit I enjoy traditional quilting for friends and family, and for my own bed. This one is finally done... quilted, bound..... planned for a gift next spring, that is IF I can part with it. This quilt is BIG.. thus the over the couch drape. Love and laughs to all who quilt!
This quilt is BIG.. thus the over the couch drape. Love and laughs to all who quilt!

Wednesday, September 22, 2010
We love Jambo!!!
This piece ( at least the painted part) is just about done. A total of 7 hrs is all this took to paint across a few days.... Our goal now is to let the painted background dry ( it's damp still) and see if any little touch up is needed here or there. We have figured out that while we had his nose looking just like the 'head shot' photo we started with, it wasn't just like reality so we tweaked him a bit after looking a bunch of photo pics on the web. This underscores the critical nature of photo quality. His original head shot was in some shadow. I always say, I can only paint what I can see. I think we are on the right track now! We've already darkened the front of his nose since we took this photo. NICE DOG!!!!!
Dale looks pretty pleased! :-) Great job!!!!!

Dale looks pretty pleased! :-) Great job!!!!!
Who Took The Dog Out??!!
Sorry if the title makes no sense.... I just keep hearing the song of the same name and it relates to what we are doing here. The ORIGINAL photo had the dog on a hardwood floor. When Dale and I talked about how much this dog gets outdoors and so loves it, we decided to put him on grass. So this is a start. First, I often use a transparent paint to brush in big loose backgrounds and a whole lawn qualifies so we've mixed up a color of green for a background 'wash' ( sorry .. wash is a watercolor technique). It goes fast but one must be very careful watching for possible bleeding of color into existing painted images.. I keep an iron on ( for big stops if bleeding gets out of control).... but 99% of the time will use an air dryer, or hair dryer to slow the movement of wet pigment.
Following the 'wash', Dale used a darker green ink and a rubbing plate to quickly get in some grasslike background. This is looking pretty good. Next effort, using a different rubbing plate , we will add some additional texture in the 'grass'. The added inking will add interest and unify the background .

Following the 'wash', Dale used a darker green ink and a rubbing plate to quickly get in some grasslike background. This is looking pretty good. Next effort, using a different rubbing plate , we will add some additional texture in the 'grass'. The added inking will add interest and unify the background .

Tuesday, September 21, 2010
A private class/project begins
Well this should be great fun! A delightful lady named Dale Vital called last July to book September time for a private class for her first ever painted quilt. The subject, a beloved German Shepherd. We had one original photo possible for use. It was a little dark to see details in the head area... but we took the leap and went for it.
Step One: Tracing the Drawing.
That was done placing an 8 1/2 x 11 acetate transparency atop an 8 x 10 photo and tracing the animal on the acetate using an ultra fine sharpie.
Step Two: From Tracing To Black and White Drawing
Simple enough: Place a piece of white paper behind the traced acetate drawing. Then make one copy on your printer. This copy can be taken to a local print shop for enlargement. Then we decided how big the art piece was to be and decided 285% enlargement would do the trick.... ( 8.5 - one side- times 285 = a bit over twenty four inches...and 11 -the other side times 285 = just over 31 inches ) So off to the print shop for a little over $3... we had an enlarged drawing that 'exactly matched our tracing. There are indeed other ways to do this enlarging thing, but this is quick, accurate, and if you find a friendly local print shop, reasonably priced.
Step 3 Let the Fun Begin.... Since Dale is learning the media, we began with the lightest value while she gets comfortable with how things work. I routinely tell students, after you figure out the media, begin where it makes most sense to you and that would possibly mean start with the dark .. especially on complicated drawings.
Three hours of painting were enough for the first day. Look how far Dale got!.. and make note this is her first ever painting. Impressive!!! Time for a break .. Eyes and brains need a rest so a new day will move this painting forward.
Step One: Tracing the Drawing.
That was done placing an 8 1/2 x 11 acetate transparency atop an 8 x 10 photo and tracing the animal on the acetate using an ultra fine sharpie.

Step Two: From Tracing To Black and White Drawing
Simple enough: Place a piece of white paper behind the traced acetate drawing. Then make one copy on your printer. This copy can be taken to a local print shop for enlargement. Then we decided how big the art piece was to be and decided 285% enlargement would do the trick.... ( 8.5 - one side- times 285 = a bit over twenty four inches...and 11 -the other side times 285 = just over 31 inches ) So off to the print shop for a little over $3... we had an enlarged drawing that 'exactly matched our tracing. There are indeed other ways to do this enlarging thing, but this is quick, accurate, and if you find a friendly local print shop, reasonably priced.

Step 3 Let the Fun Begin.... Since Dale is learning the media, we began with the lightest value while she gets comfortable with how things work. I routinely tell students, after you figure out the media, begin where it makes most sense to you and that would possibly mean start with the dark .. especially on complicated drawings.

Three hours of painting were enough for the first day. Look how far Dale got!.. and make note this is her first ever painting. Impressive!!!
 Time for a break .. Eyes and brains need a rest so a new day will move this painting forward.
Monday, September 20, 2010
Heading to Houston Nov 2nd
Looks like I best book a flight for Houston to attend the Nov 2nd awards ceremony. One of my pieces ( In Quito's Market) has won something but I won't know what til that night. Nice honor. I'm looking at flights as I type.

Let the bag be done!!!!!
Continuing from previous postings on this subject ( began 9-15-2010)
This should be the last posting on this plumeria bag I designed for the Hawaii Cruise beginning next week. This is where we start from today. We have two still separate 'placemats' both with handles, one with an outer 'pocket' of a painted/quilted plumeria begun on the Hawaii Cruise with worldofquiltstravel.com.
Step 1 Stitching SIDES of placemats
With right sides together... Stitch a half inch seam from top to bottom STOPPING 1/2 from the bottom. Back stitch. HINT for starting the top...Before beginning the forward stitching down the side.... starting appx 1 inch below the top edge, begin with a reverse stitch to the top. You may then begin forward stitching. This will eliminate loose threads at the upper edge. You MAY even go backward forward more than once to strengthen the upper part of the connecting seam.
Stopping that 1/2 inch before the bottom edge will reduce final seam bulk in the next step.

Step 2 Stitch Bottom of placemats
Still with right sides together, stitch 1/2 seam all the way across the bottom of the placemat bag long edge. and turn the bag right side out. Ta da!!! You may chose to steam press but alas..... You're done!
This should be the last posting on this plumeria bag I designed for the Hawaii Cruise beginning next week. This is where we start from today. We have two still separate 'placemats' both with handles, one with an outer 'pocket' of a painted/quilted plumeria begun on the Hawaii Cruise with worldofquiltstravel.com.

Step 1 Stitching SIDES of placemats
With right sides together... Stitch a half inch seam from top to bottom STOPPING 1/2 from the bottom. Back stitch. HINT for starting the top...Before beginning the forward stitching down the side.... starting appx 1 inch below the top edge, begin with a reverse stitch to the top. You may then begin forward stitching. This will eliminate loose threads at the upper edge. You MAY even go backward forward more than once to strengthen the upper part of the connecting seam.

Stopping that 1/2 inch before the bottom edge will reduce final seam bulk in the next step.

Step 2 Stitch Bottom of placemats
Still with right sides together, stitch 1/2 seam all the way across the bottom of the placemat bag long edge. and turn the bag right side out. Ta da!!! You may chose to steam press but alas..... You're done!

Friday, September 17, 2010
DOWN and now UP Web site
If you were earlier trying to link from here to my web site (pattsart.com) it was down for some unknown reason. My apologies!!!! The hosting company site reported an outage for a number of their mail and web host clients. Again... My apologies! TECHNOLOGY.. argh!
Subscribe to:
Posts (Atom)