Tuesday, October 25, 2016

Spooky Fun

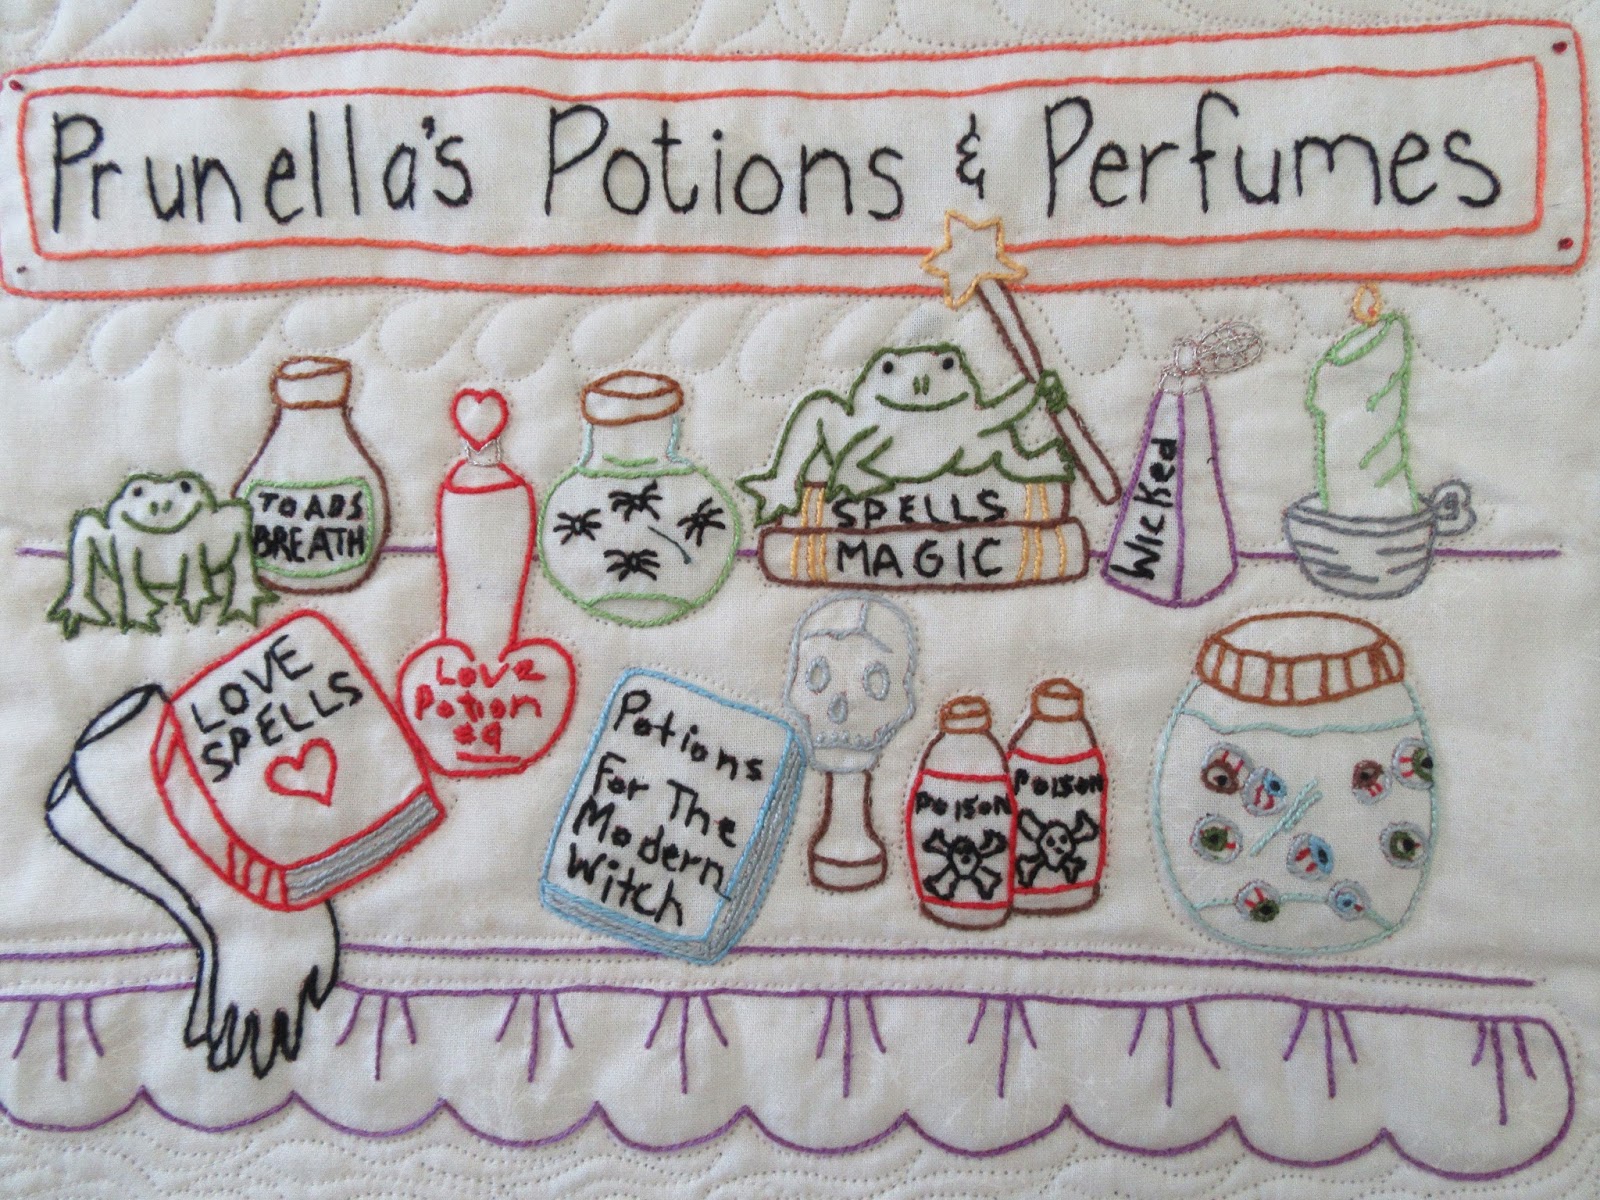
I'm thrilled with her approval to show this quilt made by Hilary Field of the City of Orange in Southern California .  It's so fun and her embroidery work is just plain off the charts wonderful. I've quilted it for her.  It awaits binding! It called for special quilting attention for sure. Embroidered blocks first deserve the same attention given to lovely applique... that being some careful outlining of important elements.  CLICK on photos for enlarged view.
That outlining is even called for here on the grid floor. Stitch lines outlining here purple floor diamonds makes them pop. The same holds true of her table and chairs. Some simple fill patterns add texture and we're on to the next block.


I wish you could see the delicate metallic threads( the belt buckle sparkles)  in this. So well done.
Classy red undersoles!!


'Missed photographing 1 block.  Oh well!  Click here to view (pattblairquilting.blogspot.com)  or go the Patt Blair Quilting Services on this upper left page ... sidebar list of links.

Sunday, October 23, 2016

" I Gotta Be Me" -April 2017 RETREAT OPENINGS

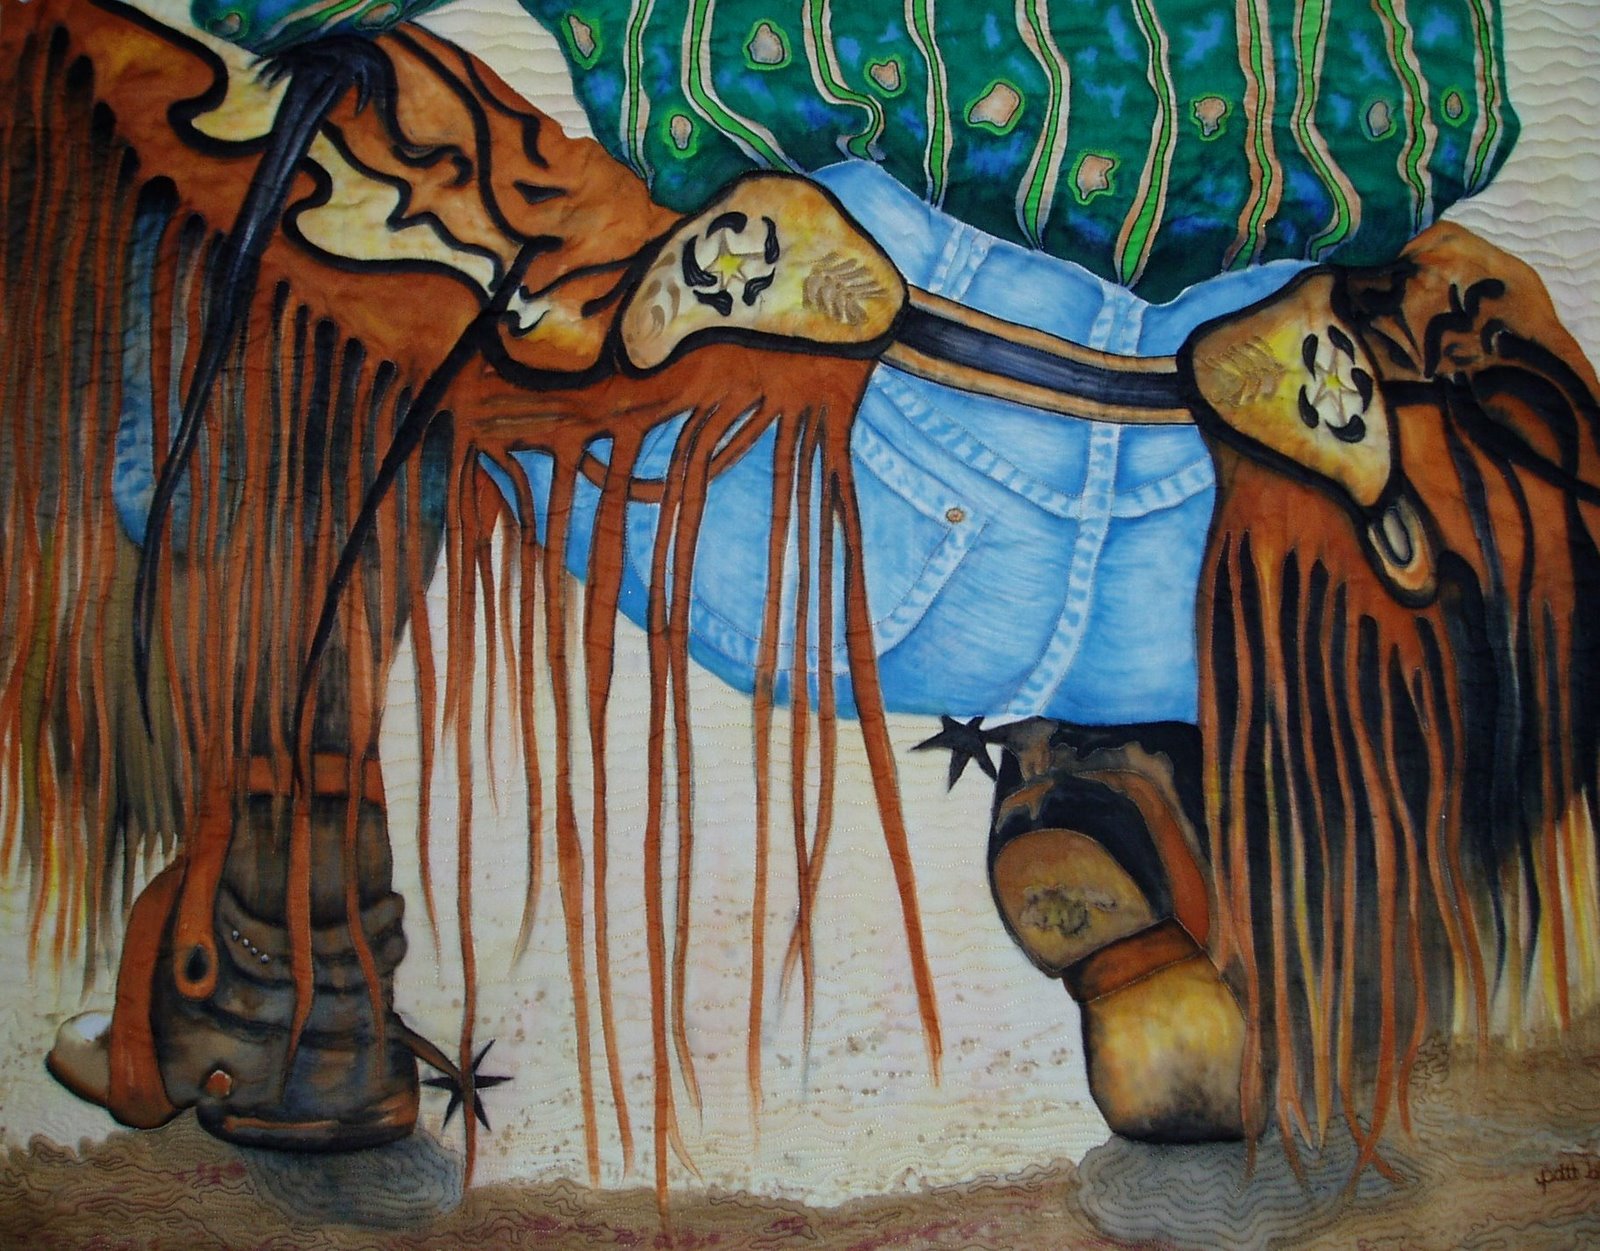
I have a few openings for my  recently added April 17-20 Painted Quilt Art Retreat in Temecula, California.  Temecula is wine and horse country and truly a slice of heaven on earth. 3 1/2 days of painting ( and quilting if desired) art pieces created in class.  Paint whatever you want. Use one of my many drawings or one you've created ( see Pattsart.com... click EZ Drawing button ) for drawing for people who don't draw. It's designed for those who liked tracing in grade school.  We can all do it.
Detail of  the most recently added drawing to my offerings... Cute 'lil guy, eh?
See the Patts Retreats link on the side bar LINK list or click here.   Lodging, Classes, Meals, super friendly/ calm  atmosphere at a truly good price.  just email me if interested(patt@pattsart.com)
                                                              (c) Gotta Be Me!!!

Saturday, October 22, 2016

Quilting the The White Knight

I may jump around a bit on this poor animal....
The background was not quilted first but I'll address it now. A light gray background was painted so the horse would look "more white" and more important.  In the quilting... I was thinking about the air moving about as this giant animal ran forward. Before loading the quilt for quilting, I had premarked a repeated  'wave' pattern. The wave itself was not quilted (i.e.  left to be more prominent) as the area between each  curvy wave was quilted in a back and forth curvy meander I call 'bumpy ride.'  A peak at the background is seen below and to the right of the horses head.
Now... to work on my horse
 I always WANT to leave some softer areas unquilted IF I can get away with it.  I like the softest possible look around eyes...  I quilted most all the body in white but as I got closer to the eyes... I stopped and left them to decide what else if any 'til the very end when ....


I decided I needed to do more around the eye though I used warmer value tones in quilting. I STILL left a bit unquilted.


As I worked on the jaw line of my Knight, I realized I needed lots of change in direction in quilting patterns. That said, I first used a purple ink ( disappearing) to section off  small areas before quilting.  CLICK on photos for enlarged view. 


The body of the horse was done almost exclusively in white  but for areas ( e.g. horses underbelly) which was a good bit darker ( dark being relative ofcourse). I used the same  disappearing purple marker  to section small areas before quilting.

The mane was the greatest challenge... LONG (controlled) sweeping movements on the longarm were a serious challenge of for me.  The challenge got bigger as the mane got longer.  
All in all, he looks okay. He's submitted for a January Show... Hope he is juried in.
                                                   (C)  my copywritten image

Friday, October 21, 2016

ROAD TO CALIFORNIA- Classes Open

Funny... I got this bookmark in the mail Friday from a supplier I buy from.   I knew I was teaching at Road in January.... didn't know my name (Patt Blair)  was at the top of the list...
 My 2 day Painted Quilt Art Class (my favorite  quilt show class to teach)  has a few open spots.. Check it out at Road2CA.com 
You can paint anything you want or one of my many images for which I bring ready to go drawings.  Here's the newest drawing addition.   Come play.... you'll get a quilt top FINISHED in class , will learn much,  and have great FUN! 
Gotta BeMe   (c)
I hope to  also have a piece juried in to the show.  .... 'will know in a month or so. 

Wednesday, October 19, 2016

Cart Before The Horse

This may be a strange way to see this project because it is actually 100% done by the time of this post. There's multiple reasons but the key one to me is I needed to be dedicated/ not distracted from this project.  I'd been dreaming of this image for years knowing I wanted to paint/quilt it but was delayed for 2 reasons.... 1) I had no idea how I might paint the mane on this incredible animal.... I had to make it up in a daydream mode.... and 2... it would be so large( over 50" x 60"), I knew I wouldn't quilt it on my domestic so  I spent plenty of time getting very familiar with my longarm.  First the painting....  Drawing laid beneath fabric and features starting to be laid in.


More details  within a day or so..

a bit of closeup as he progressed.
It was a week or so before the mane showed up.... 


  Oh the Mane....    My long ago watercolor mentor Robert E Wood Jr.  often quoted his belief that "CREATIVITY" is a winding path to an unknown destination!"  He was oh so right on this mane. I was scared...unsure at best... but had to get started. 

 a closer look ( FYI: below... I was painting away from studio on an odd sized table.. i.e. round) I decided I need some light value warmth so am starting to add in here.. Some neutral  here and there light tan over gray came in later.

 (Back in studio)


He ( my White Knight)  is ink on cotton... and as you can see he is a much larger than the table on which I'm working.  Given that this image  only covers the front legs forward, he's pretty close to life size.  He's nearing  a finished painting here though a light value  gray needed in the background.  Without that addition we'd have a very flat white on white painting. 


Tuesday, October 18, 2016

"TAG!" You're IT!

I'm already thinking about Holiday giving. Lots of travel happening amongst my friends.  What do you think of this economic gift that will use up stash and call only for a small $ outlay for mid weight vinyl plastic for the travel card slot?

For ONE luggage tag, you will need:
FABRIC: TWO   fabric rectangles 3 1/2" x 6 1/2"
                 ONE   matching fabric 1 1/2" x 11" rectangle strip
 SOFT VINYL PLASTIC
                 ONE 2 1/2" x 4" clear  vinyl rectangle
Your version of a luggage tag insert ( any word program will do or make your own)


Okay... here's the process

To make the Tag hanger strip.
...  IRON and STITCH:
 Top Row 1: the flat 1 1/2" x 11" strip
Row 2:  Right side down, fold over edges and press (I use  my friend Mr. Starch)
Row 3: Fold strip  from row 2 at center and press
Row 4: Along the loose edge, run a single straight stitch end to  end 
Set aside for later.

To make the Tag holder: 
Place  2 (3 1/2" x 6 1/2" ) fabric rectangles RST Right Sides Together
Place a  pencil  mark perpendicular  from right edge  at 5 inches on each  LONG side ( see pic ( lower image))
Place a  pencil mark perpendicular to the very center of the left edge  of the SHORT SIDE (see pic lower image ) 

Beginning at the "5" inch mark, stitch a quarter inch seam  down, across the bottom , and back up the the 5" mark on the opposite side 
(BTW... if you are making  more than one tag, this is a perfect opportunity to 'CHAIN' stitch as many tag units at a time by stitching down , across the bottom, and up and off the previous unit at the the 5" mark and onto the next at the next units first 5" mark. ) 
Back To The Ironing Board  and equipped with Mr Starch again...    Spray , then beginning at the marked center point, iron back one corner of the unstitched end.  It's okay to iron from the far side of the mark when  the next ironing on the opposite side will result in a point a bit lower than the fabric edge beneath. PRESS and turn the unit over.


With the previously ironed edges facing the ironing board,  spray starch and press back the top corners matching the edges to those beneath..  PRESS !  Once  cooled...  turn the tag unit right side out and press.   
Return to the sewing machine... place tag unit pressure foot at the top left edge of the tag unit... and place the 2 1/2" x 4" piece of vinyl plastic atop.... centering  atop the unit... ( you can hopefully see the plastic edge is approximately 1/4" from  sides and bottom edges. 

The following stitching line  will complete the  luggage tag by both adhering the vinyl and adding the tag luggage attaching strip made in the first steps above. 

 Beginning as shown in the reference pic, STITCH down the right side  atop the fabric and vinyl
( appx 1/8" inside the vinyl edge). Stop  1/8" before the bottom edge of vinyl.  Turn, stitch across the bottom edge of vinyl ( again appx. 1/8" from plastic edge. )  Stop 1/8" before opposite edge of vinyl. Turn and stitch up the left side of the tag unit stopping 1/8" from the top left edge (on the angle of the point).  
Turn  so you can stitch  toward the point ..at 1/8" from the rolled edge ( you may want to first back stitch to get to the seamed edge of the tag unit, then return to forward stitching and stop appx. 1 " before the point.   
Now... insert one end of the stitched together tag strip  about 3/4" into the pointed unit...place the stitched seam of the strip on the uphill side of the point... take a few stitches enough to hold the strip in place , then  hairpin turn the loose end of the stitched strip such to place the other end of the strip with the stitched seam on the downhill side of the point.. Stitch all the way across the downhill edge  till  you reach the side of the unit where you originally began.   THATs it! voila!!!! 

Once stitched, add your  traveler name card or in this example... 
A standard business card fits perfectly.

Monday, October 3, 2016

Flying Every Which Way

Our " Material Girls " retreat was so much fun this year, I didn't stop to take pictures but for this one quilt... designed and made by Stephanie Pugh-Hoese... she's holding it up so just know there's a cool chick behind this quilt. Love her fabric choices!!!