In but a few hours I am on the road to Auburn, Ca for a lecture and tuesday class with Foothill Quilters. Our one day class is full, and much fun to have. To maximize productivity, we will start class with an already fabric painted face of Father Christmas. I've painted 20 over the last few days so we'll be ready to work on his coat and surroundings. Here, I'll post a progression of one painted face so students can review the process if they would like. The size of his actual face is about an inch and 1/2 wide so these are really up close photos of a wee small face.
As always, I begin with a black and white line drawing underneath fabric I can see thru. While i NEVER place inks on my piece as I work, I have here for photo reference only. Tsukineko Ink 95 is applied to face area.
Once the face ink is bone dry, we can add add'l features. With Fabrico marker 152, using the very fine tip of the brush tip end, a partial outline of the eye socket, edge of nose, and nostrils.
The round tip end of Fabrico Baby Blue marker adds the iris.
Very dry brush #52 ink begins to give contour to his face.
Very dry brush #33 ink provides rose pink cheeks. Don't fear.. these cheeks won't stay this pink!
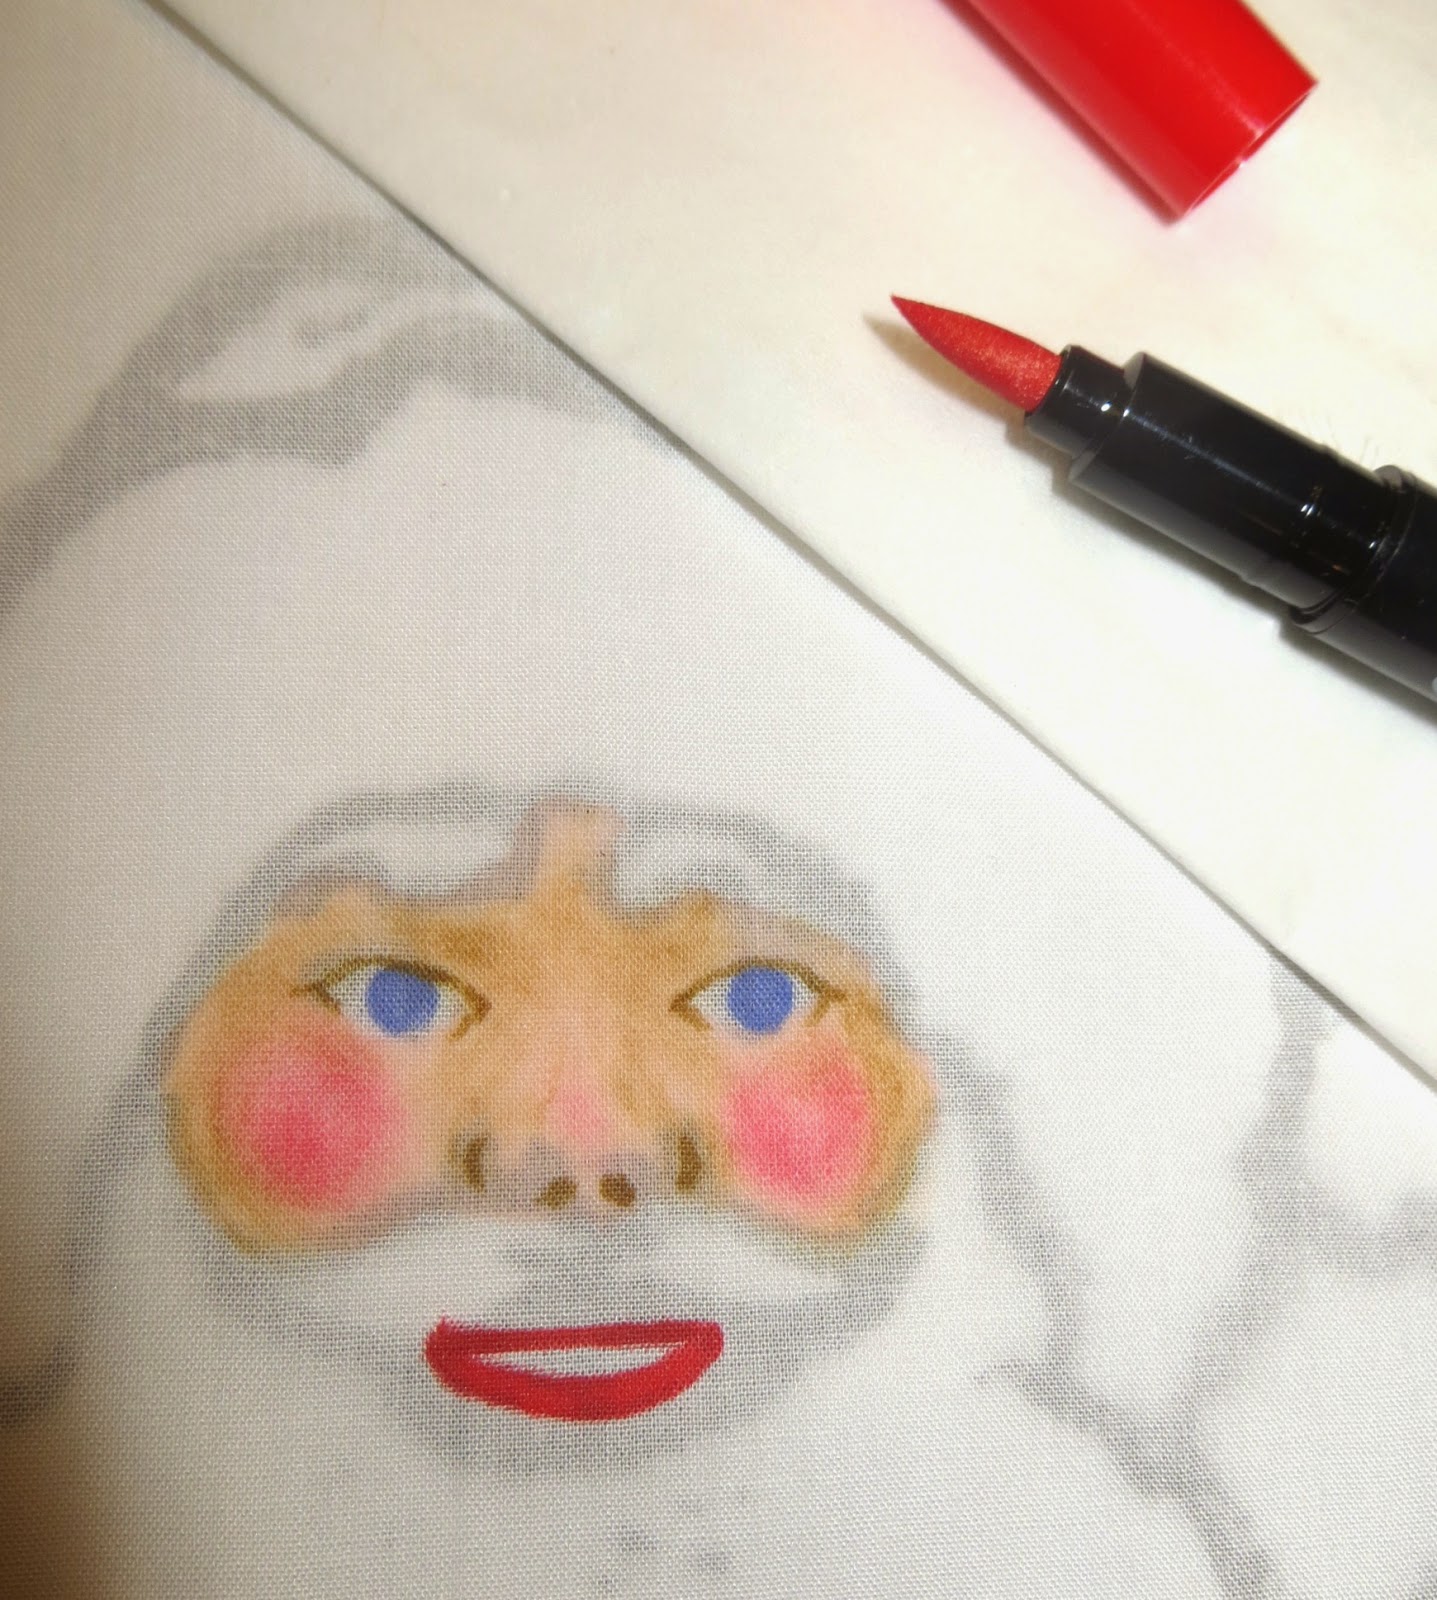
Poppy red Fabrico Marker 114 adds lips
Before I add any more detail, I need to be 100% certain every area is dry so my work is either heat set with an iron... or I need use my heat dryer that throws out a hot bullet of air. Careful not to scorch the fabric.
Now I can use Fabrico marker 182 to add pupils to the eyes
..and Fabrico marker 155 (truffle) to darken only the upper eye lid.
Again with all ink dried... I can add # 80 white highlights to the eyes, and the lower lip
and finally...dry brush #80 highlights to rosie cheeks and tip of his nose.
Now we are ready for the in-class fun.


No comments:
Post a Comment