Step ONE .... measure and mark the to-be-finished edge.... (see black frixion marker line below)
Step TWO .... atop the marked line..... stitch the quilts perimeter with a fairly small straight stitch. I have loosened the pressure foot pressure (it's a quarter-inch pressure foot) so I can without distortion stitch thru 3 layers with a regular vs. a walking foot. This step is important not only to define the edge but provide a stay stitch for edge stability, and also to secure threads that may be trimmed later. You'll see in Step 3.

You see here the importance of measuring and marking before stitching.... This piece was painted and quilted a bit beyond a perfect rectangle shape.

Step THREE: Using a rotary cutter and straight edge... trim excess about 1/16" or slightly less outside the previously step 2 stitched line

Result:

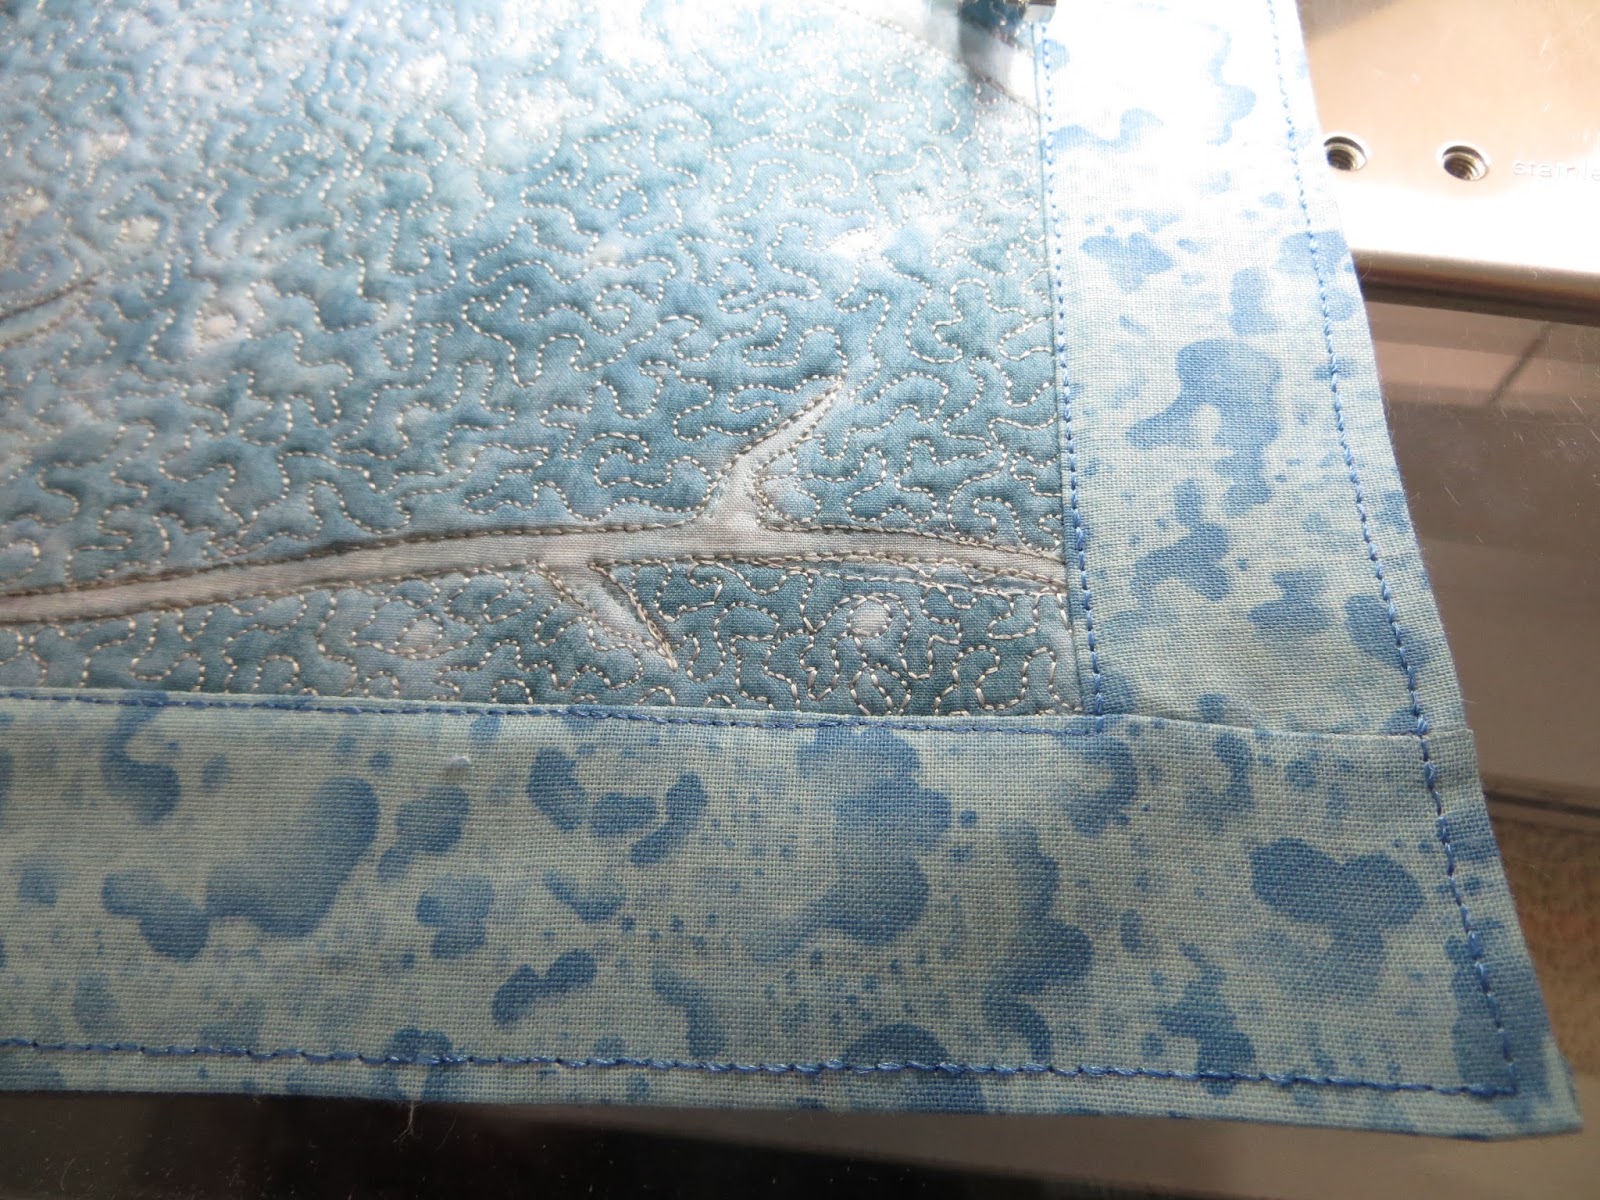
As if you were adding another border sashing , cut and add/stitch 4 strips ( app 1 3/4" wide) to the quilt trimmed in step 3.. ( I'm using a 1/4 inch pressure foot below) I've folded back a strip so you can see the new stitch line is appx. 1/8 inch in from the trimmed edge stitch line. This may seem strange but this approach when all done will give us a nice tight knife edge finish.

Step FIVE calls for a good pressing of the new 'sashed border' followed by a straight line stitch no more than 1/16' to the right of the 'ditch.' This is achieved by running the inside edge of the left foot right along the 'ditch.' Again, hang with me here.... This effort will add even more stability to the eventual faced edge and also be a helpful finishing reference.

Step SIX: Turn and stitch the loose outer edge under. This new stitch edge will ultimately be where a binding stitch finish is done on the back side of the quilt.
Step SEVEN... done at the ironing board... press two sides to the back. You know you've got it right when from the backside you can see the Step FIVE stitch line just rolled to the back in a STRAIGHT line.

Use a binding or applique stitch to hand stitch that portion of the
facing that can be stitched to the quilt backing.... i.e. leave the
'sashing' at each end of the strip free for trimming in the next step.

From the front, this finished step looks like this..

Step EIGHT
Trim away most of the extra folding left 'free' in previous step. You'll trim all four corners this way.. ( We just don't need the bulk keeping it would add.)

Following Step SEVEN approach, iron the remaining top and bottom to the back... miter the corners, and bind/ applique stitch the edges as done in Step SEVEN.

This is what you've created... looking straight on toward the quilt edge is a clean tight, stable knife edge finish. Cool, eh? By the way... use of a thinner batting makes it easier to achieve a tightly turned edge.

This is one cold and lonely little cardinal....


1 comment:
Great tip...I've done similar process..but your added tips will be a great addition. THANKS!
Post a Comment