Continuing from previous post, we're looking at the back side of the"to be faced quilt." I am working on my big board ironing board. We will be completing the following steps on 2 sides opposite each other first ( I'll be doing the left and right sides of the quilt ).
This is kind of like taming a lion... ( not as scary) but you will work at this a bit. All worth it!
Click on any photo for enlarged view.
1) In this photo, I have dampened the backside edge of the quilt with clean water spray.
2) Next, I'm using my cotton setting dry iron to roll the facing to the backing side and press hard to begin the training of that edge to curve to the back. As I do this, I want to clearly see that straight line stitch previously done just 1/16' to the outer edge of the seamed on facing in previous posts. That stitch line should be straight and consistently visible along the edge.) You won't get this completely dry with ironing. Thats okay as you'll see.
3) On this just ironed/rolled edge, I pin at the very edge of the quilt ( i.e. through that 1/8 inch seam inside) and also at the loose facing edge.
4) Let this air dry... It's like blocking the edges to create the memory of the crisp turn we are looking to have. Here's the back view of right and left sides ' air drying' as well as what things look like from the front.
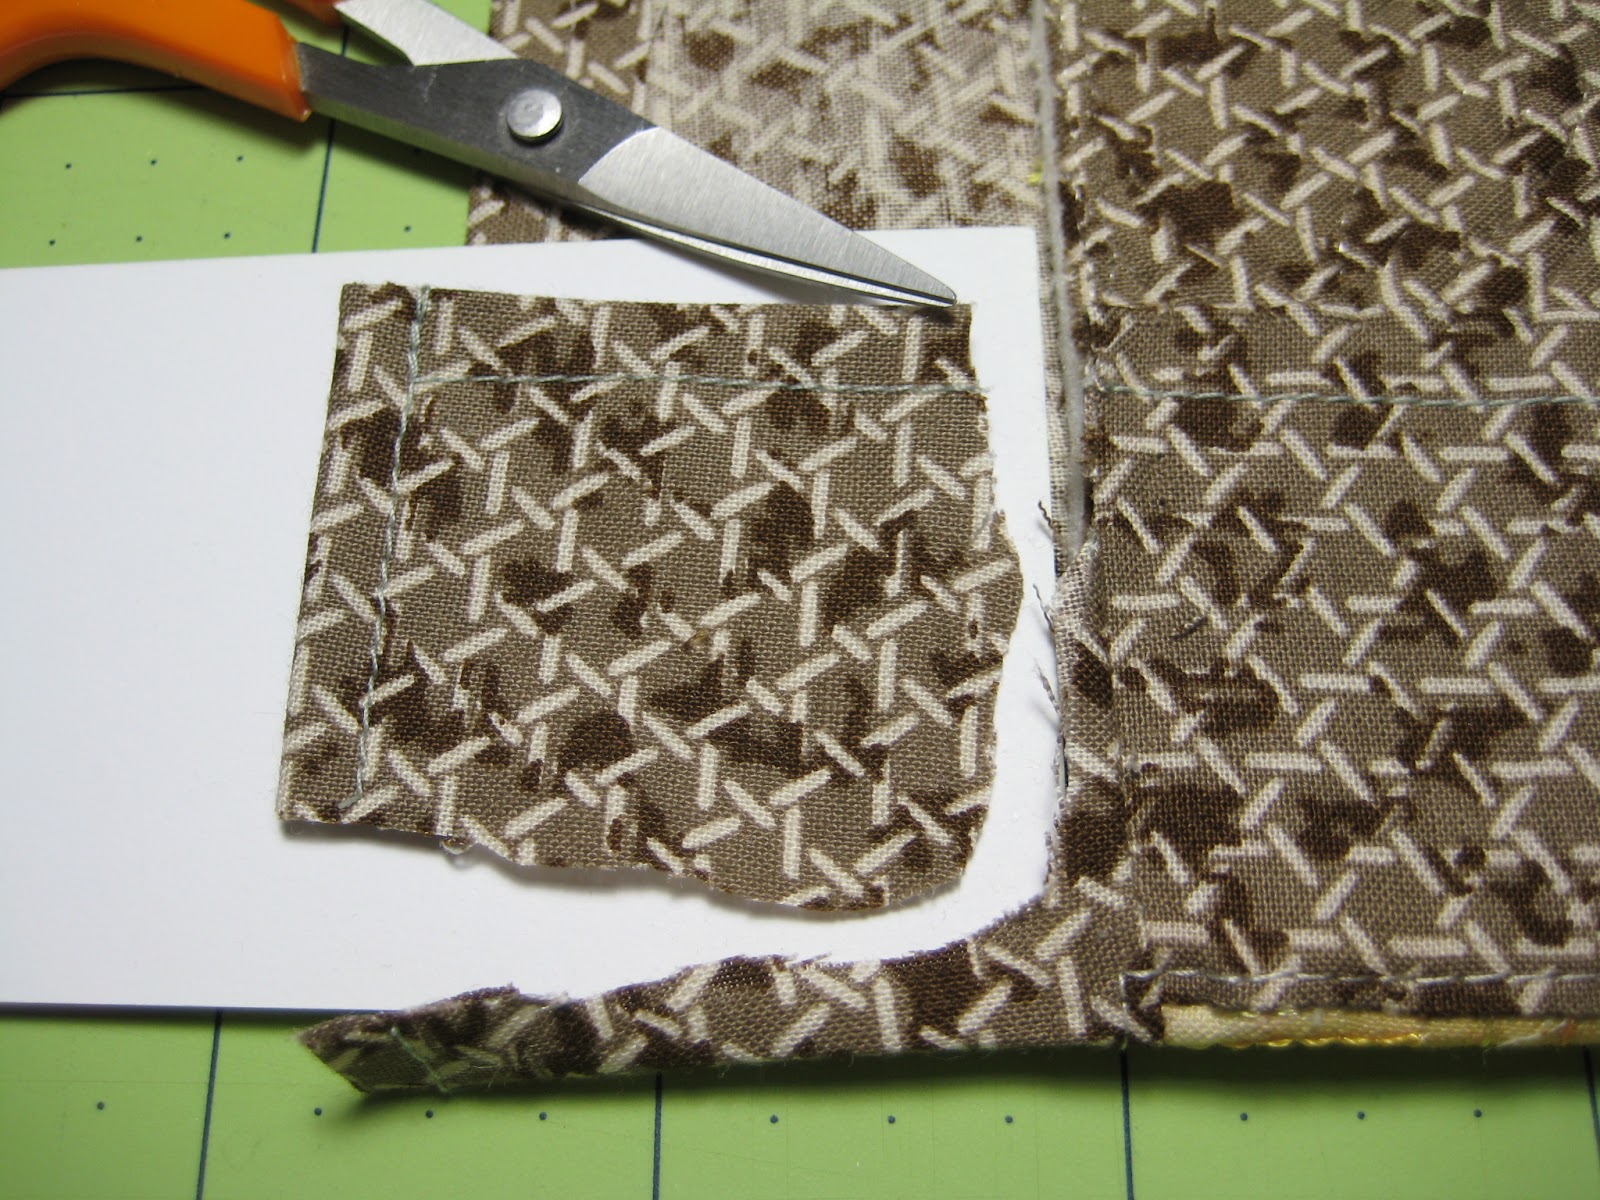
5)Once these 2 sides are air dried... It's time to prep for the hand stitch work. What you are seeing here is a cutout of what would be excess fabric when the top and bottom sides are done later.
6) These four pieces are throwaways. 7) Not shown is removal of pins as I go as hand stitching is done.
Steps 1- 5 are repeated on the top and bottom. Hand stitching is likewise done for these 2 sides. I do generally miter turn and stitch facing at the backside corners.
The front view when done.


No comments:
Post a Comment