This effort is free and fun... but I honestly got out every stamp, stencil, paper napkin plus a bunch of other stuff to create this little sample. I used about 1/20th of what I layed out for consideration. You don't need all that.... but we sometimes can't help ourselves just like buying fabric. I started by laying out a base fabric and tearing out tissue pieces I wanted to use (tearing tissue edges seems better than a clean cut... you'll see later) I auditioned some stamps too.

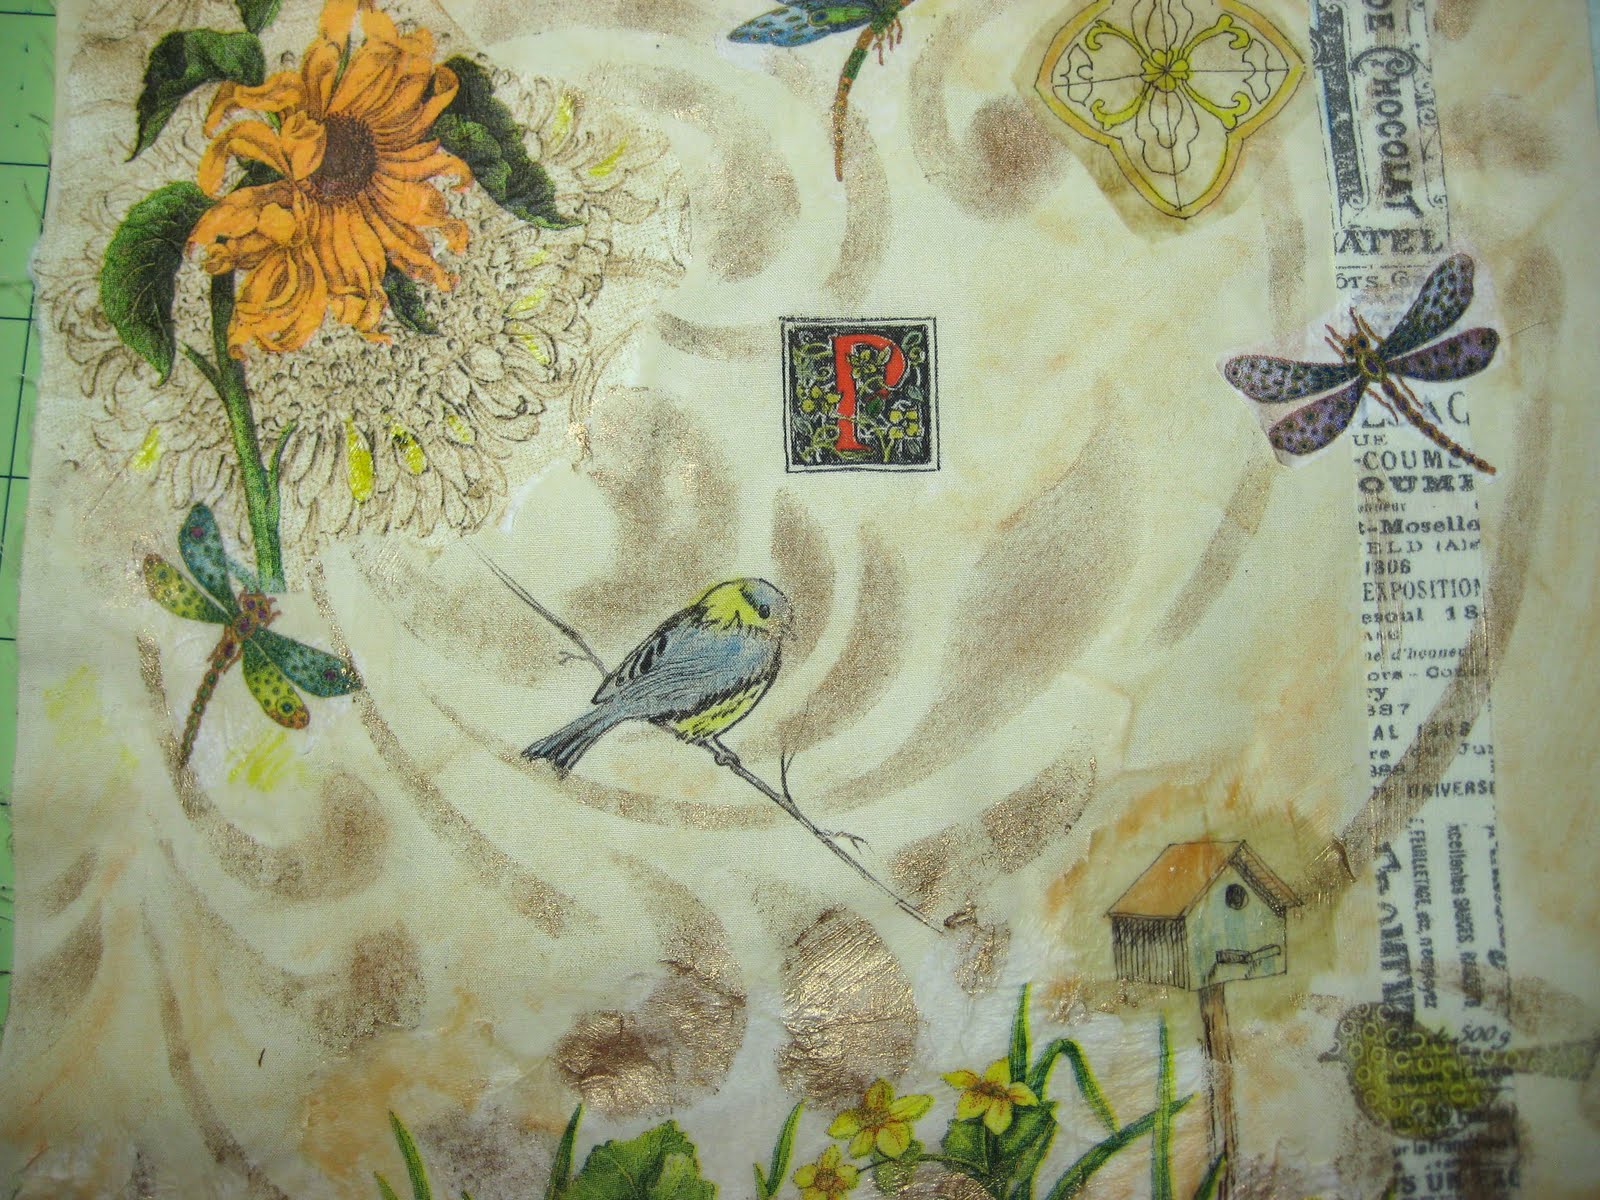
When I had a decent layout .... I left the stamps on the fabric ( sort of to save their space for stamping ) and began with a foam brush first applying a thin stroking of matte medium on an area I was preparing to 'glue' tissue. The tissue was then placed on top of the wet medium... then I carefully ( I mean really carefully) applied matte medium over the top of the tissues. A light hand is needed.... or the tissue will tear. Pigment Ink stamp pads were used to get the birdie image and an initial ( so vain of me)... a "P".


Out came those Shiva Paintsticks I bought years ago, a stencil brush, a piece of freezer paper I used as a palette and I was ready to do some stenciling right atop what I'd created on fabric. In some cases, when an important image appeared in a stencil opening, I stenciled around but not atop the important image... (like the birdie)

This quickly unifies elements. I like it.


I'll let this dry overnight before I consider anything else. Shivas need 24 hours cure time as they have oil in them.


2 comments:
Hi Patt,
Love this process and think this might work well for some artist trading cards for a quilt guild event in December. What type of medium did you use and are the dragonflies and bird house out of napkins as well or what type of medium was that? I really like the overall look of everything:)
Laura T
Thanks... I used Golden acrylic matte medium. The dragonflies are from napkins, and the mailbox was first drawn on a dried tea bag.
Post a Comment